|
This project is a sign that I'm either getting more creative in my frugalness, or am just slowly losing my mind... I recently acquired a free used office couch via the wonderful resource that is Ottawa Freecycle. The only drawback is that while it was a 3-seater, it was a very long one at eight feet! And the ergonomics of the old house I live in were against my getting this thing into the living room at that length. So what to do? I thought about taking the easy way out and chopping an end off to reduce its size, but then that meant having a one-armed couch. The other alternative was the tougher one, removing some of its middle and joining the ends back together. I have a bicycle that's been chopped (to make it look cool / silly), I used to have a Hammond organ that had been chopped (to make it more portable), so why not chop a couch? (And for those of you who are thinking "why didn't he just wait for another free couch?" I would ask "where's your sense of adventure?". [wink]) The photos below document the effort. The only new materials used were the screws, as I had run out of 1.75" wood screws. No new wood was used, as I had lots of scrap pieces lying around. And I wasn't too worried about things being perfect or fussing too much over the fabric, as I thought I would just throw a cover on it. But it came out pretty well, so the cover was left off. The project took about four hours over two afternoons, and worked out quite nicely, if I do say so myself! |
| PICTURE | DESCRIPTION |
|
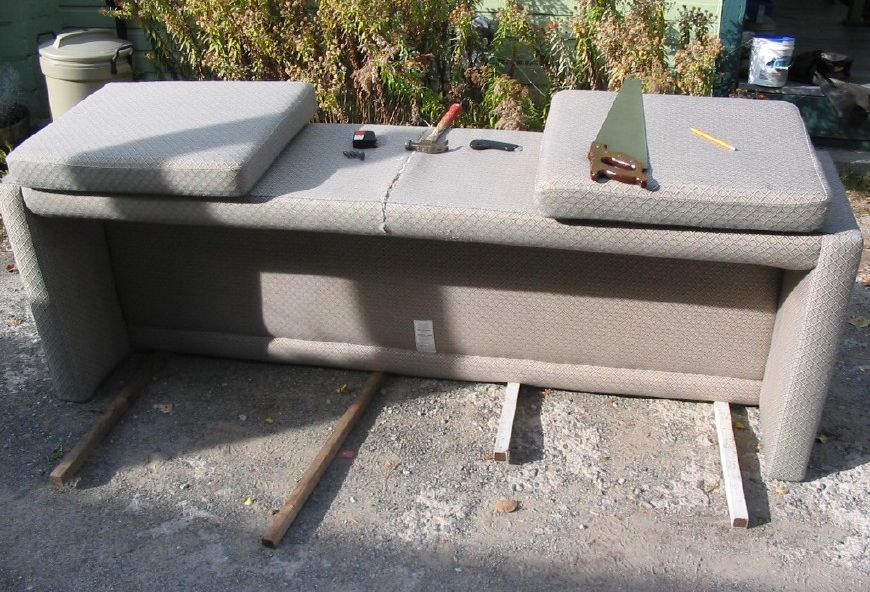
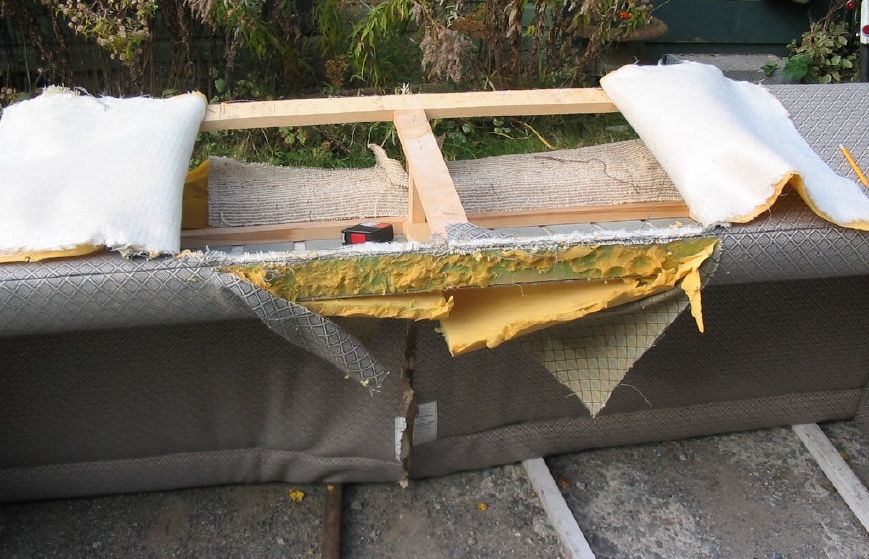
The couch, out in the driveway, on its front, with one cut already made into the rear fabric. The two cushions are there so I can make sure of how much middle needs to be removed. |
|
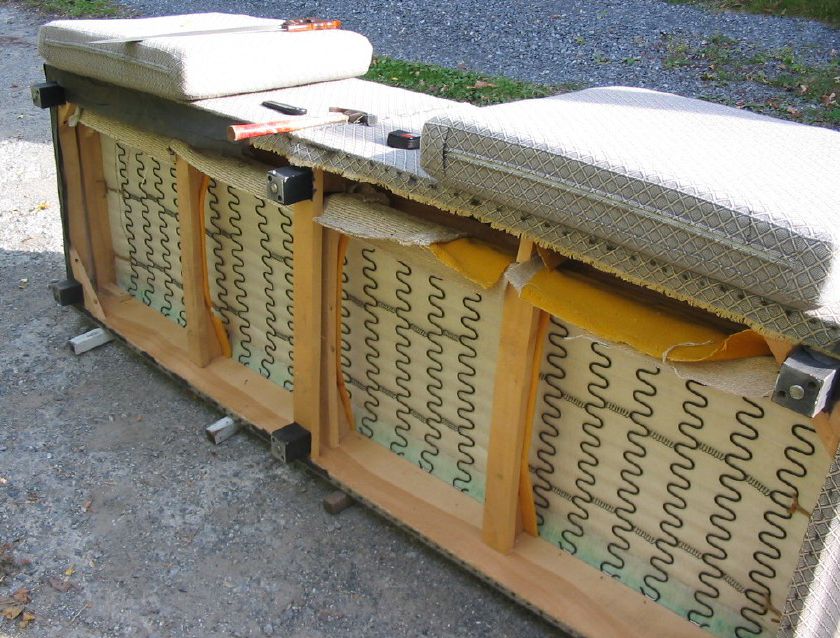
Underneath, with the bottom fabric removed. This couch is nicely built, with hardwood and good springs. This inspection was to make sure I could actually do this project. Fortunately, the springs ruan vertically so I could just cut in-between them (after removing the small joining springs). |
|
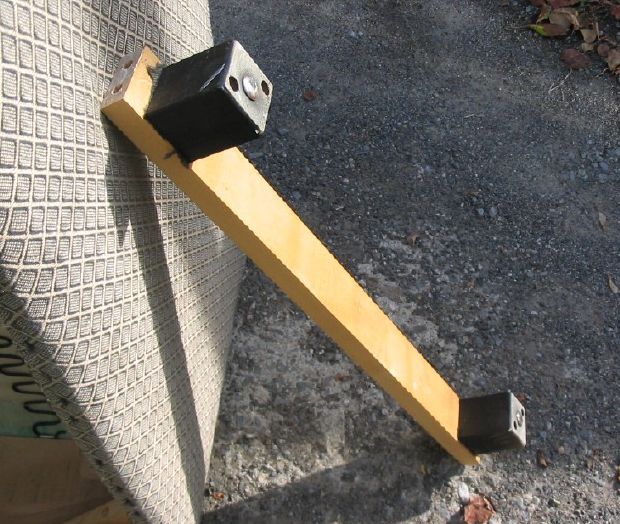
The bar holding the centre feet was carefully removed and saved for later re-installation. Note dowel and glue joinery. |
|
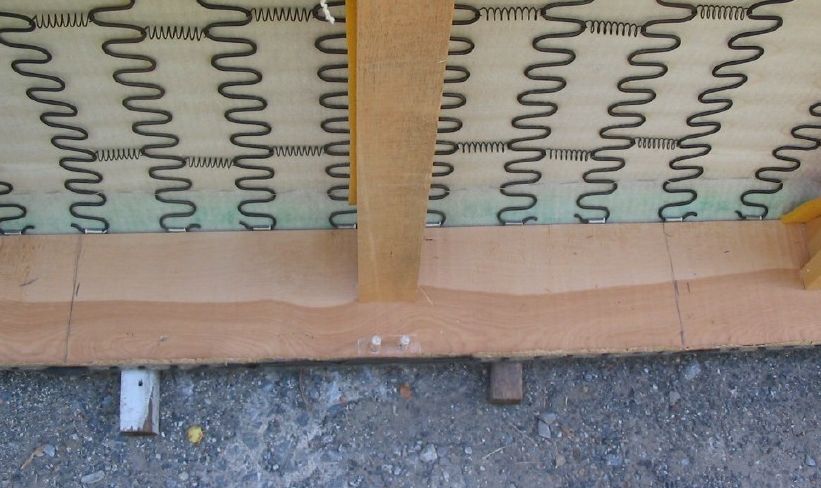
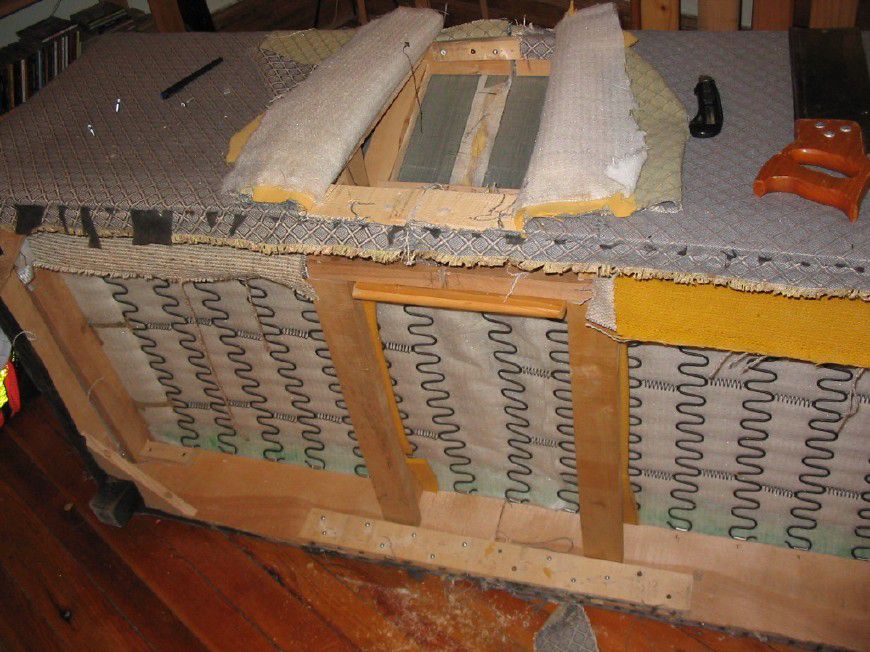
Marking off the section to be removed. Note how I made sure to keep the spring spacing consistent. |
|
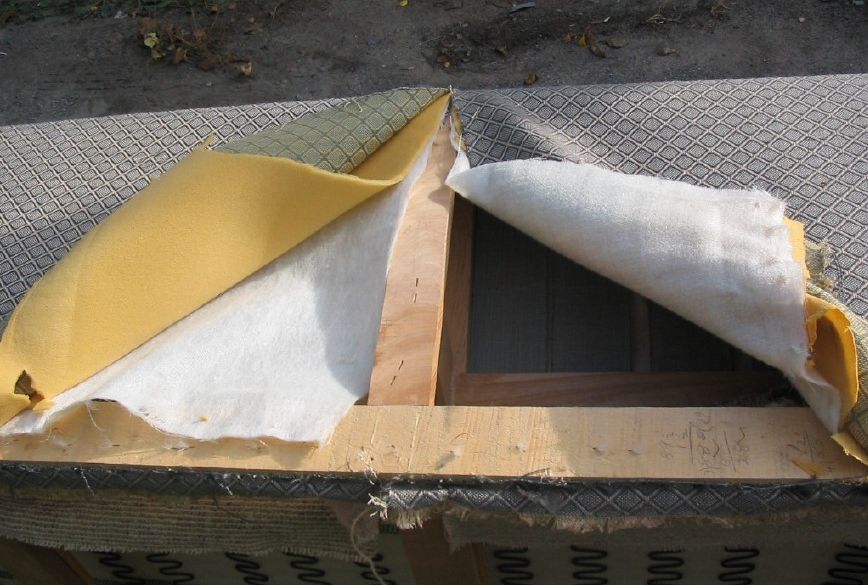
OK, I guess this was the moment of commitment! Slicing open the rear fabric to expose the framework. |
|
Really committed now. Marking off the centre section on this side as well. |
|
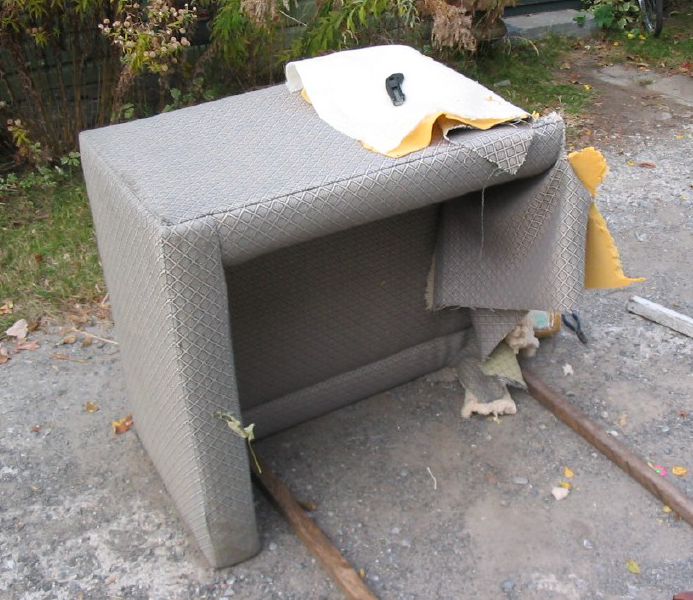
One end sawn off, remaining piece hanging by a thread or two. |
|
One end, waiting to be rejoined to its twin. |
|
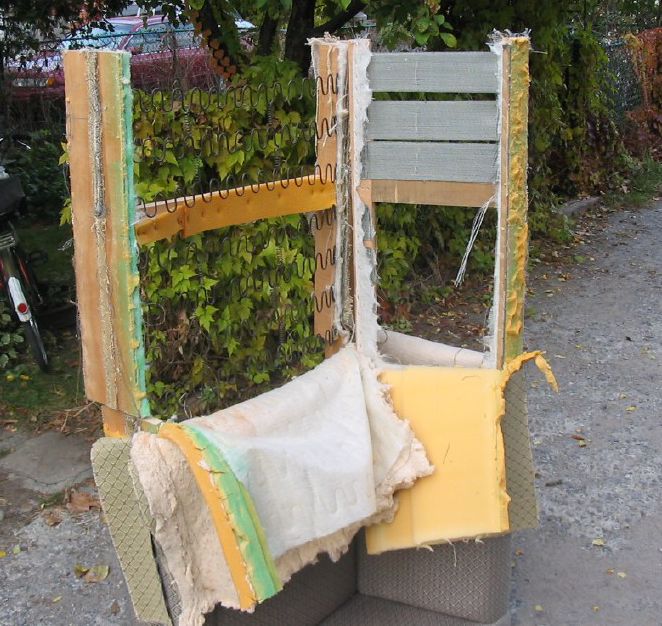
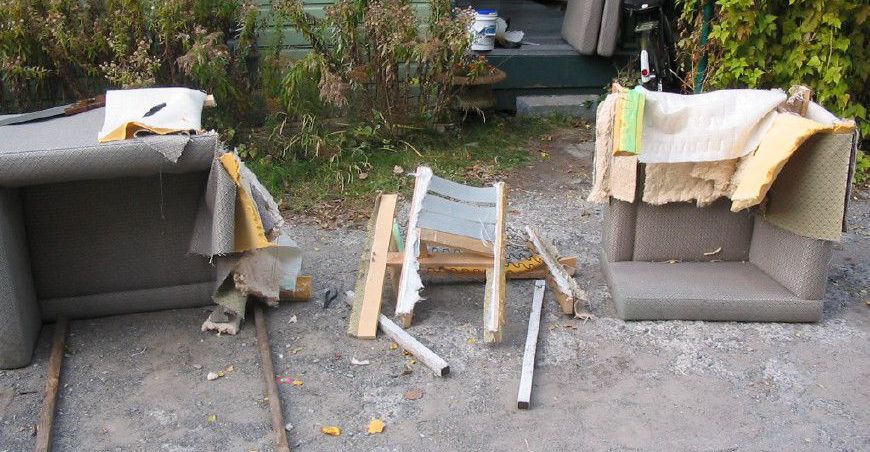
Both ends, and the now-defunct middle section. Cushions were saved for possible single-seat project. |
|
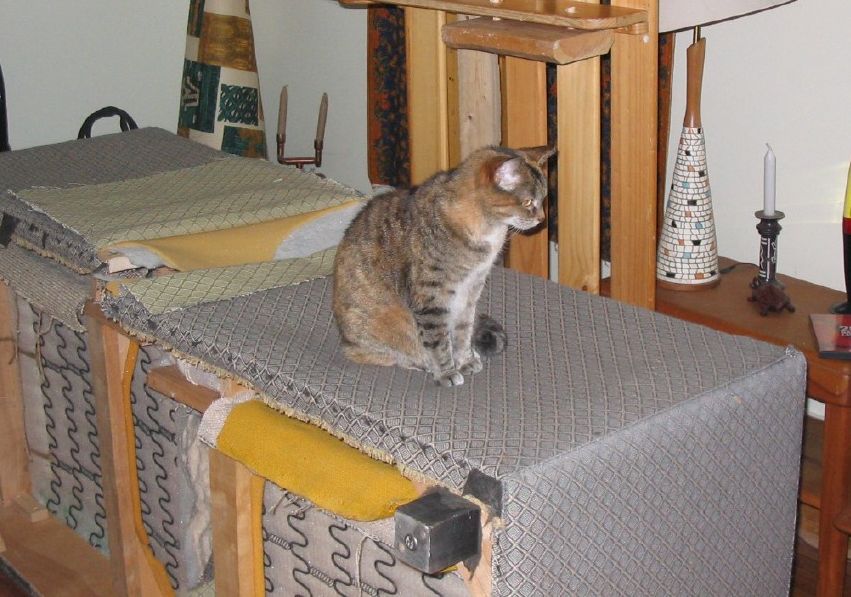
The two end sections in the living room awaiting re-connection, with old futon frame at rear. Kitty already approves. |
|
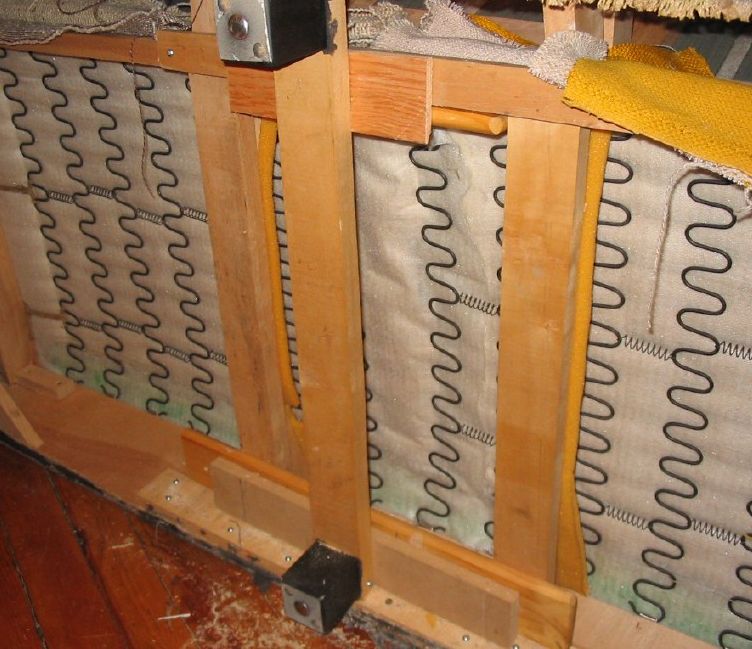
Wood joining plates installed with many screws. |
|
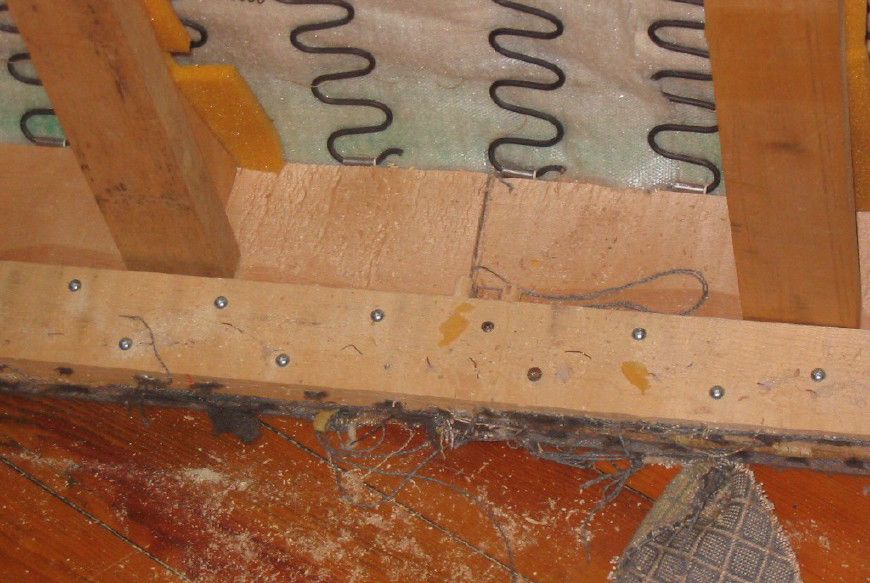
Close-up of bottom joint. |
|
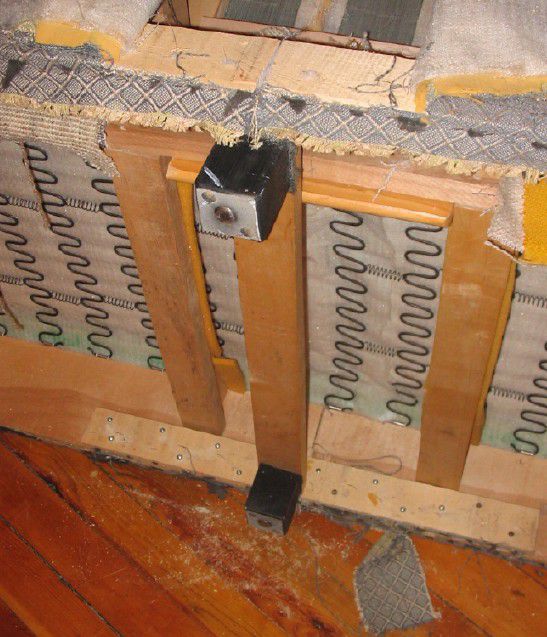
Re-installing the middle feet. |
|
Wood spacers added to spread load of the foot bar. Leftover small springs were later used to close the middle gap between the main seat springs. |
|
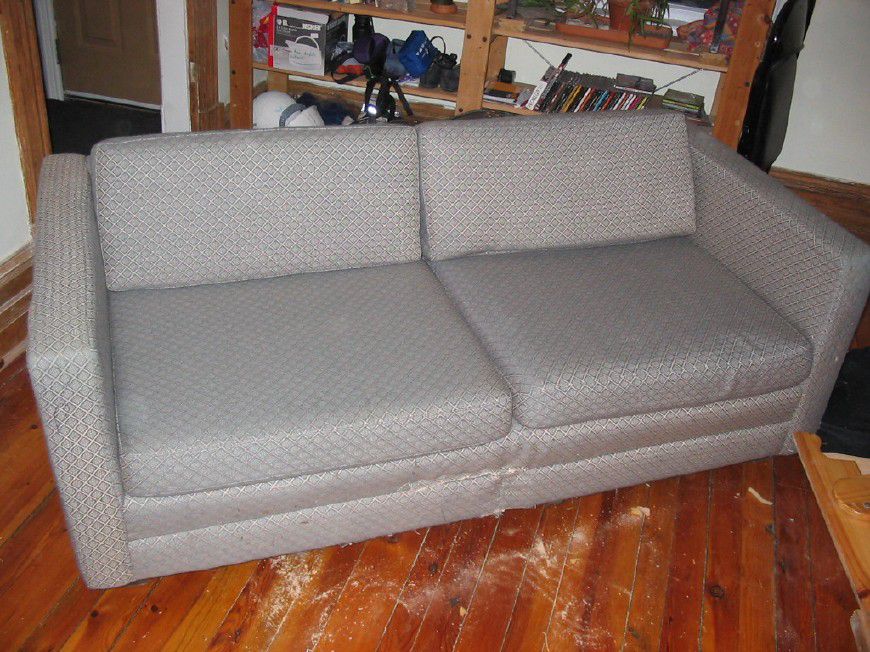
Done! Fabric at bottom front was stapled in place, other fabric joins were done with duct tape and covered by cushions (rear will not be visible once placed against wall). |